
Configuring time settings
The method for setting the server time varies depending on the system configuration.
- Single server: Set the time in the individual server settings panel.
- Multiple servers (clustering): Time synchronization is essential for accurate operation across all servers. A synchronization reference must be configured in the system settings.
CAUTION: Reverting the time to an earlier point may result in duplicate timestamps, causing recorded footage to be overwritten or deleted. It is recommended to back up recordings from the overlapping time range before making such changes. Deleted footage cannot be recovered.
Configuring time on a single server
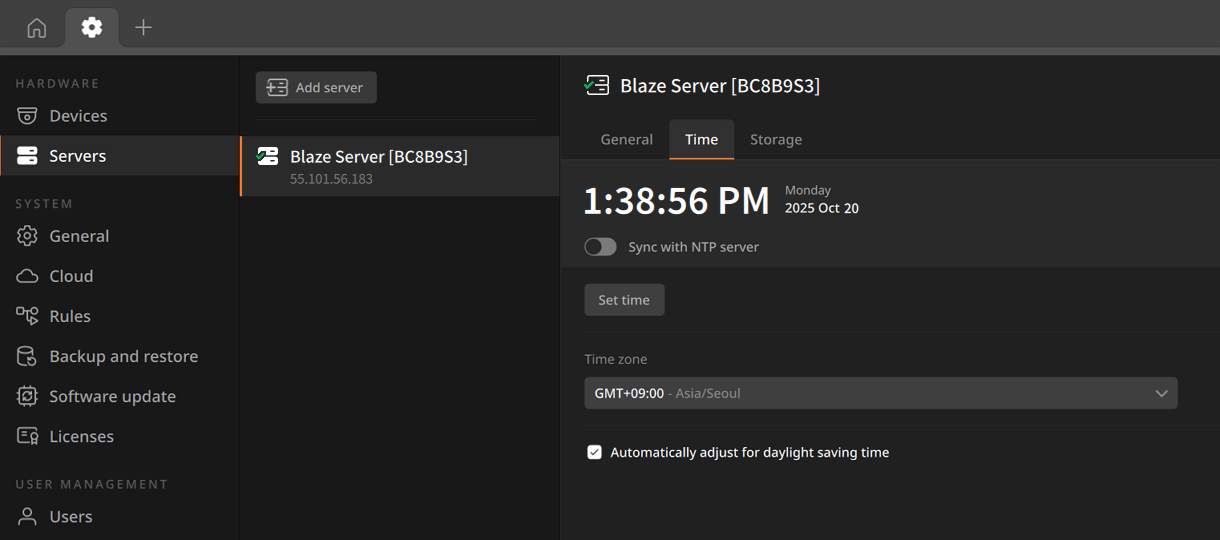
Automatic time synchronization options
- Sync with NTP server
- Sync with PC time (where the server is installed)
Set the time manually using the local time zone or by entering the time directly. Manual configuration may result in time discrepancies; therefore, synchronization with an NTP server is recommended.
To configure server time
- Click Settings > Servers.
- In the server settings panel, click the Time tab.
- Configure the server time information.
- Click Apply to save the settings.
Server time configuration options
In the Time tab, the following options are available.
- Set time: When Sync with NTP server is set to Off, time can be manually set. The BLAZE system uses Coordinated Universal Time (UTC) for the selected time zone.
- Sync with NTP server: When the toggle button is set to On, it synchronizes server time with the selected NTP server every minute.
- NTP server: Select the NTP server to synchronize with.
- time.windows.com: Synchronizes with the Windows OS NTP server of the host PC.
- ntp.ubuntu.com: Synchronizes time with the Linux OS NTP server of the host PC. Displayed only when the PC OS is Linux.
- time.nist.gov: Synchronizes time with the NTP server of the National Institute of Standards and Technology (NIST) in the United States.
- Custom NTP server: Allows manual input of an NTP server's IP address or URL (IPv4 format only). After input, click Test to verify connectivity.
- Sync now: Immediately synchronize time with the configured external NTP server.
- The
 button is enabled only when the NTP server settings have been saved and applied.
 - Clicking the button immediately requests synchronization, and the synchronization progress
status is displayed on the screen.
- When synchronization is complete, the last synchronization time is updated.
- If manual synchronization is attempted excessively within a short period of time, the request may be blocked according to the external NTP server's policy.
- The
- NTP server: Select the NTP server to synchronize with.
- Time zone: Select the time zone to apply to the server.
- Automatically adjust for daylight saving time: Enables automatic application of daylight saving time. Note: BLAZE servers synchronize time with the OS and Greenwich Mean Time (GMT) during installation. If the OS time is changed after installation, synchronization is based on UTC.
Configuring time in a multi-server environment
In a clustered system with multiple servers, all servers synchronize to a designated reference time. Time synchronization is mandatory, and a synchronization reference must be configured for all servers.
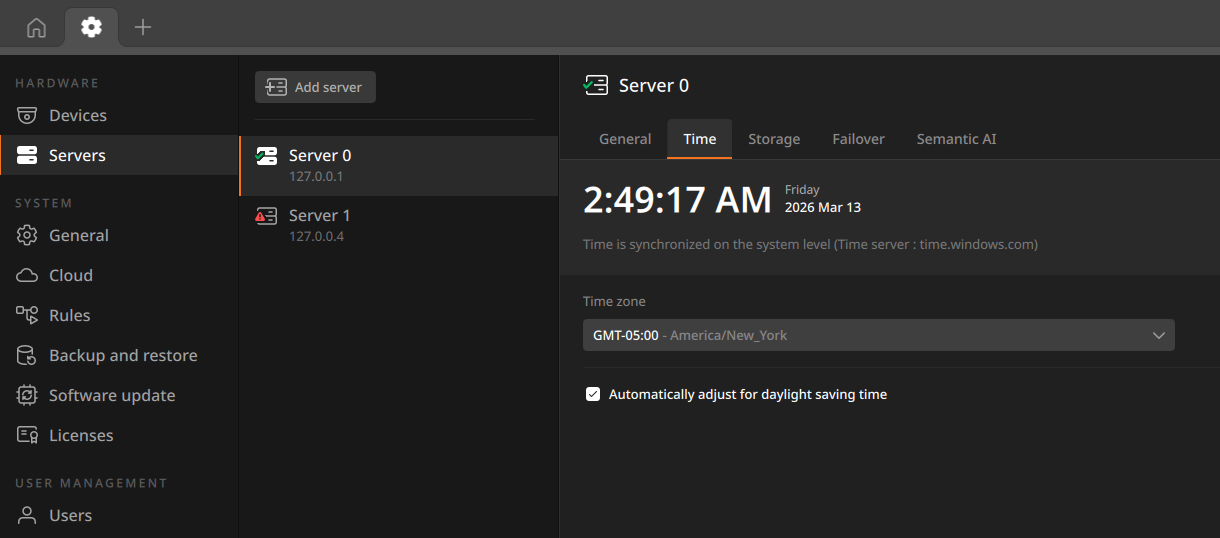
To set time synchronization reference
- Click Settings > General.
- In the System time server section, select the synchronization reference.
- Synch with NTP server: All servers synchronize with the selected NTP server (time.windows.com, ntp.ubuntu.com, time.nist.gov).
- Sync with another server in the system: Designate a specific server as the time server. Other servers synchronize based on its time. Note: The time of the designated time server can be configured via Settings > Servers > Time tab. See To set the time of the time server.
- Sync with custom server input: All servers synchronize with the user-defined external NTP server IP address or URL.
- Click Apply to save the settings.
To set the time of the time server
- Click Settings > Servers.
- Select the desired server from the list and configure its time settings.
- Time zone: Select the time zone to apply to the server.
- Automatically adjust for daylight saving time: Enables automatic application of daylight saving time.
- Click Apply to save the settings.