
Grouping maps
Organize each floor of the same building as a map and add them as a group. Setting maps as a group displays a floor selector in the Map settings panel for convenient floor-by-floor monitoring.
Note: Only users with Administrator role can group maps.
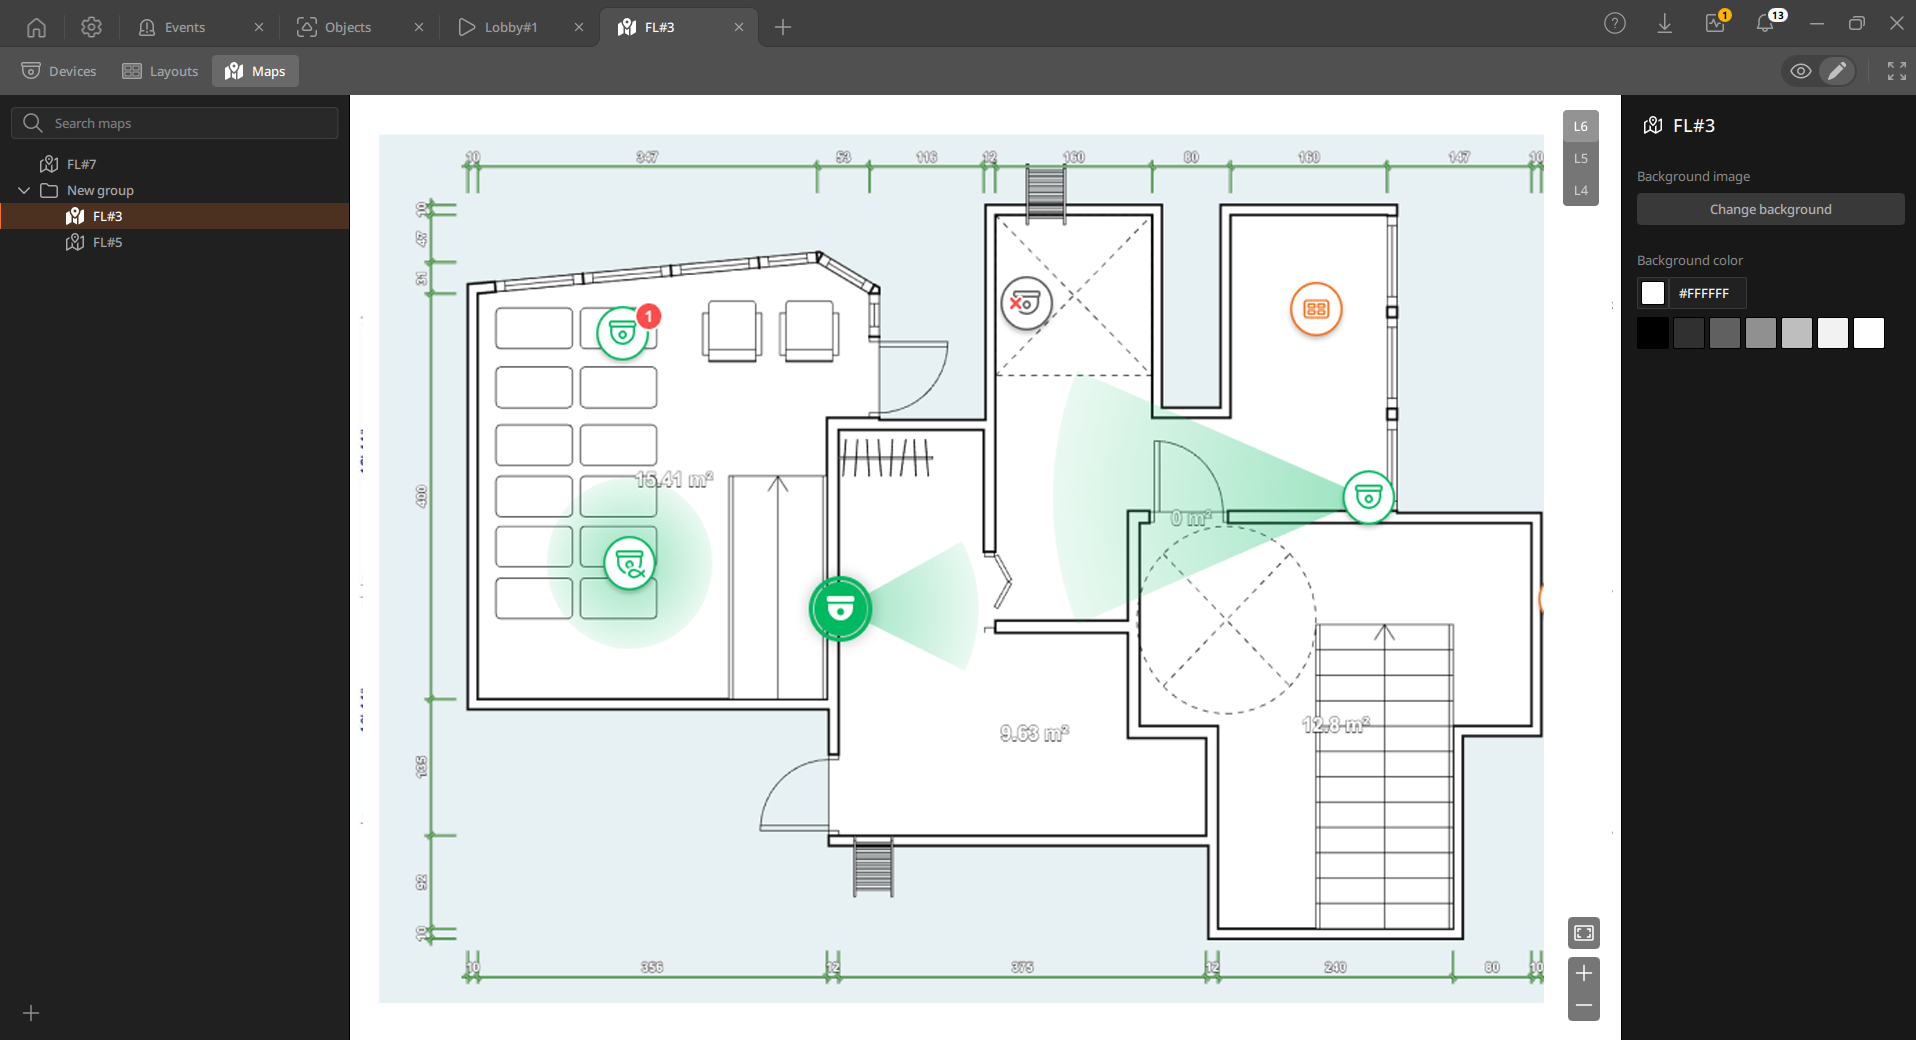
To group maps
- On the Home page, click View.
- Click the
 button on the Tab bar to open
the New layout tab.
button on the Tab bar to open
the New layout tab.
- Click the
- Click Maps on the View tab navigation bar.
- In the map list, press and hold [Shift], select multiple maps, and then right-click the selected maps.
- Click Create group. A group icon is added to the map list.
- To rename a group, right-click the group icon and select Rename.
- When a group is created, it is added as “New group”. Rename it to a descriptive name, such as a location or area, to make it easier to identify.
- Group names can contain up to 64 characters, including letters, numbers, special characters, and spaces.
- Groups in the map list can have the same name. However, it is recommended that you use distinct names to make them easier to identify.
Ungrouping maps
Select the map group, right-click it, and then click Ungroup. Once the maps are ungrouped, the map will be displayed in the list of maps in order of their names.
If no maps are included in a map group, clicking Ungroup deletes the map group.
Deleting map groups
When you delete a map group, all maps included in that group are also deleted.
- Select the map group to delete, right-click, and choose Delete from the shortcut menu.
- In the confirmation dialog, click Delete.